Growing Plants From Seeds
Written by Carol Welch
Just imagine… a huge live oak tree grows from an acorn no bigger than a nickel. A watermelon grows from a seed half the size of a dime. Seeds can be as big as a coconut or as small as the lead point of a pencil. But if the seed never finds a fertile spot in the soil, it will be wasted. What do you need to know about planting seeds in order to grow healthy plants yourself? Let’s find out.
Now is a great time to make plans for your spring garden, particularly if you want to start your plants from seed. If you have the proper indoor conditions, you can start seeds early and have them ready to transplant into your garden after the last frost of the season, which is April 13th in Parker County. Avid gardeners often begin putting plants out as early as March 15th.

Most seed packets will have information on the back about days to germination, days to harvest, planting depth, and spacing. Each of these details is important to consider when making gardening decisions. Planting depth tells you how deep to place the seed in the soil. Days to germination gives you a timeline so you know when to expect your seedlings to sprout. Spacing tells you how far apart to place your plants when you transplant them into the garden. And days to harvest tell you when you can expect the first fresh fruits or vegetables on your table.
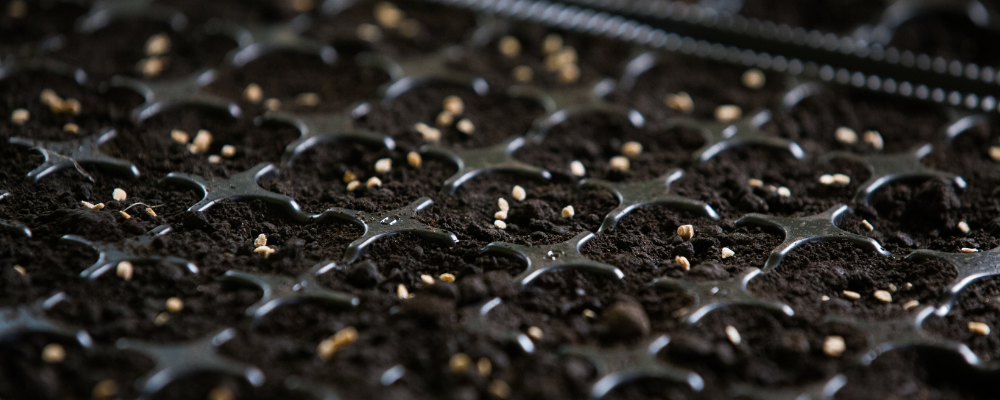
Seeds need soil, moisture, and warmth in order to germinate. The soil should be light weight with very small particles, so that the delicate roots of a newly sprouted seed can easily grow and thrive. It’s also a good idea to use sterile soil. The seedlings will need consistent moisture over a period of several weeks, and sterile soil will help to minimize the growth of bacteria or fungus. You can purchase seed-starting soil from your local garden store, or you can use a mixture of perlite and vermiculite to start your seeds. Use some type of label to record the variety of seeds you plant, as well as the date of planting.
Once the seeds are planted, the soil needs to remain moist and warm throughout the germination process. The surface of the soil will need to be misted or gently sprinkled with water several times each day. Using a spray bottle will protect even the smallest of seeds from being washed away by water pressure. Covering your pots with a plastic dome to create a miniature greenhouse is helpful in this process. If you are using a dome, check your seeds daily for germination. As soon as the seed leaves break the surface of the soil, the dome should be removed so the seedlings can have full access to sunlight.

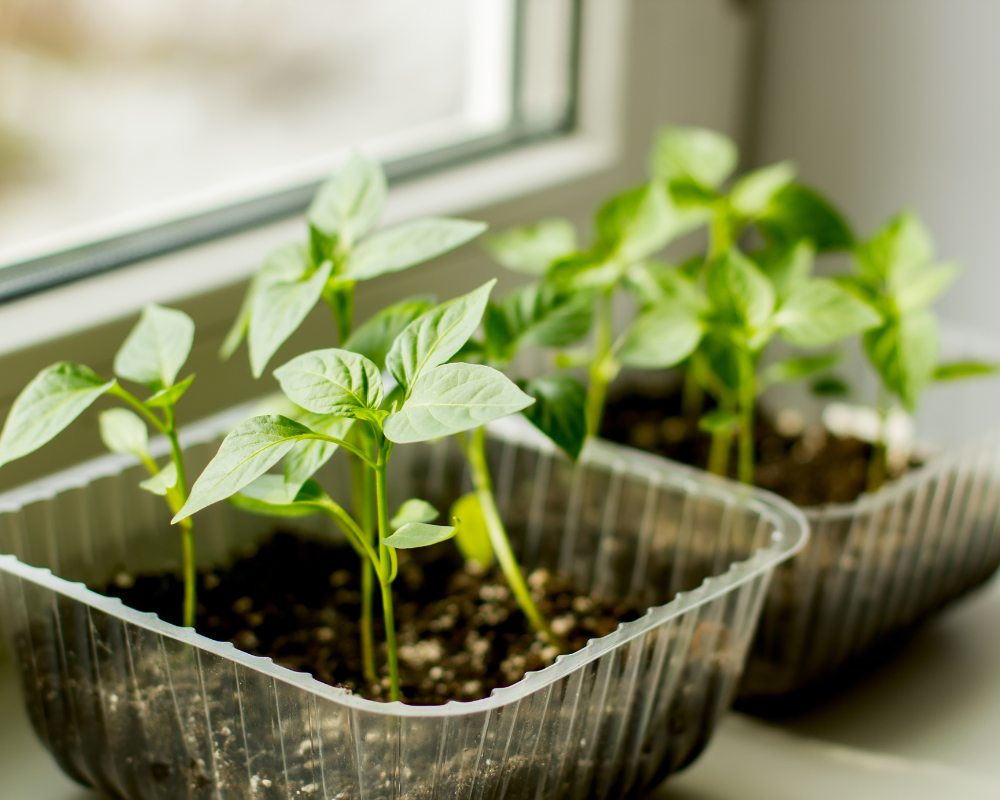
A major challenge to starting seeds indoors is providing sufficient light. Seedlings need at least 8 hours of sun each day. If they receive less, they will grow long and leggy trying to reach the sunlight. You should place your seedlings in a sunny south facing window, under an artificial grow light, or in a temperature controlled greenhouse so they can receive adequate light.
It’s important to pay attention to your sprouts as they begin to grow. If they are crowded together, they will be starved for nutrients, moisture, and light. You will need to remove some in order to give others more room to grow. Do this by cutting off the unwanted sprouts at the surface of the soil. If you try to remove the entire plant, you will damage the roots of the plants you leave behind.
Young plants are very delicate. A simple stream of water can easily bend or break the stems of your sprouts. Apply water frequently but very moderately, using a spray bottle or a hose attachment with a water breaker to moderate the pressure of the water. As your plants grow taller and stronger, gradually increase the amount of water so that it will saturate to the bottom of the pot where the roots are growing.

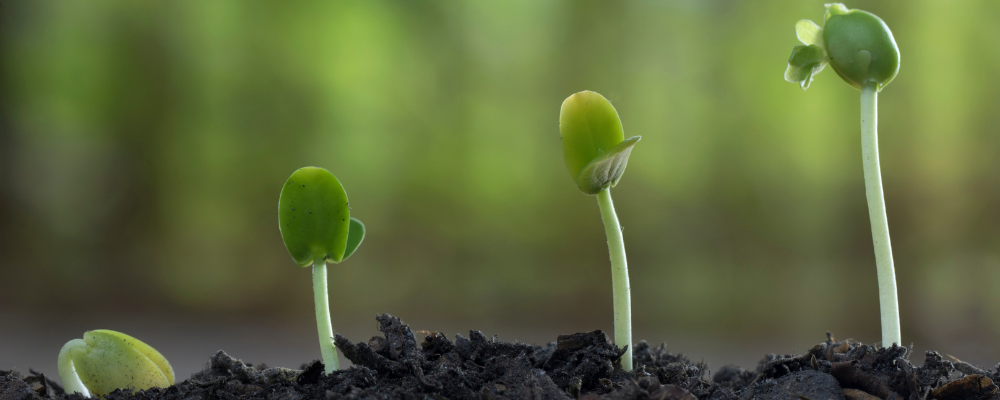
Most seeds will emerge from the soil with two “seed leaves.” As the seedling matures, it will grow new leaves that will resemble the leaves of the mature plant. Once these new leaves emerge, it is time for your plant to receive nutrients for growth. If you have planted in a seed starting soil, nutrients are already in the mix. If you have planted in perlite and vermiculite, you will need to add nutrients when you water. Use a liquid fertilizer that is diluted by at least half to fertilize your sprouts.
Plants that have been started indoors need to be gradually exposed to outside conditions before transplanting outdoors. Just like people, plants can sunburn from a sudden and lengthy exposure to the sun. They should be moved into the sunlight for a short time each day so they can gradually become accustomed to the sun and wind. The length can be increased every day until the plant is adapted to the outdoor environment.

After March 15th, you can plant your seeds in the ground; but you should keep in mind that the weather in Texas is unpredictable at best. If a surprise late freeze occurs, the new plants need to be protected by using some type of cover to moderate the temperature. Cloth covers are better than plastic.
These simple steps are all that stand between you and a vegetable garden this spring. If you have never grown vegetables before, feel free to visit our website for more information as well as details on how to prepare your bed for planting. The following chart should help you with planting information on some of our most popular vegetables. With a little patience and a bit of skill, you too can enjoy a fruitful garden this year.
